
Overview of photography fundamentals
Photography, often referred to as the art of capturing light, has evolved from a niche hobby to a global medium of self-expression. Whether you’re using a smartphone or a DSLR, photography is more accessible than ever, making it an exciting and dynamic creative outlet for beginners. This guide is designed to introduce you to the basics of photography, from understanding how cameras work to developing essential skills for capturing great photos. By the end, you’ll have a solid foundation to begin your journey into the world of photography.
Table of Contents
- The Basics of Photography
- What is Photography?
- Types of Cameras
- How Cameras Work
- Essential Camera Settings
2. Understanding Exposure
- The Exposure Triangle: Aperture, Shutter Speed, ISO
- How to Control Exposure
- Exposure Tips for Beginners
3.Composition and Framing
- The Rule of Thirds
- Leading Lines
- Symmetry and Patterns
- Framing Techniques
4.Lighting in Photography
- Natural vs. Artificial Light
- The Golden Hour and Blue Hour
- Understanding Shadows and Highlights
5.Basic Camera Modes and Their Functions
- Auto, Manual, and Semi-Automatic Modes
- Scene Modes
- When to Use Each Mode
6.Lens Fundamentals
- Types of Lenses: Prime vs. Zoom
- Focal Length and Field of View
- How to Choose the Right Lens for the Job
7.Editing Your Photos
- Introduction to Editing Software (Lightroom, Photoshop)
- Basic Editing Techniques
- The Importance of Post-Processing
8.Photography Genres
- Portrait, Landscape, Street, and Macro Photography
- Which Genre is Right for You?
9.Building Your Photography Toolkit
- Essential Gear for Beginners
- Recommended Accessories
10.Photography Tips for Beginners
- Practice, Patience, and Perseverance
- Finding Your Style
- Learning from Mistakes
1. The Basics of Photography
What is Photography?
Photography is the art of capturing images through the use of light. It combines science, technology, and creativity, allowing photographers to document events, tell stories, and express themselves through visual art. The word “photography” comes from the Greek words “photo” (light) and “graph” (drawing), which literally means “drawing with light.”
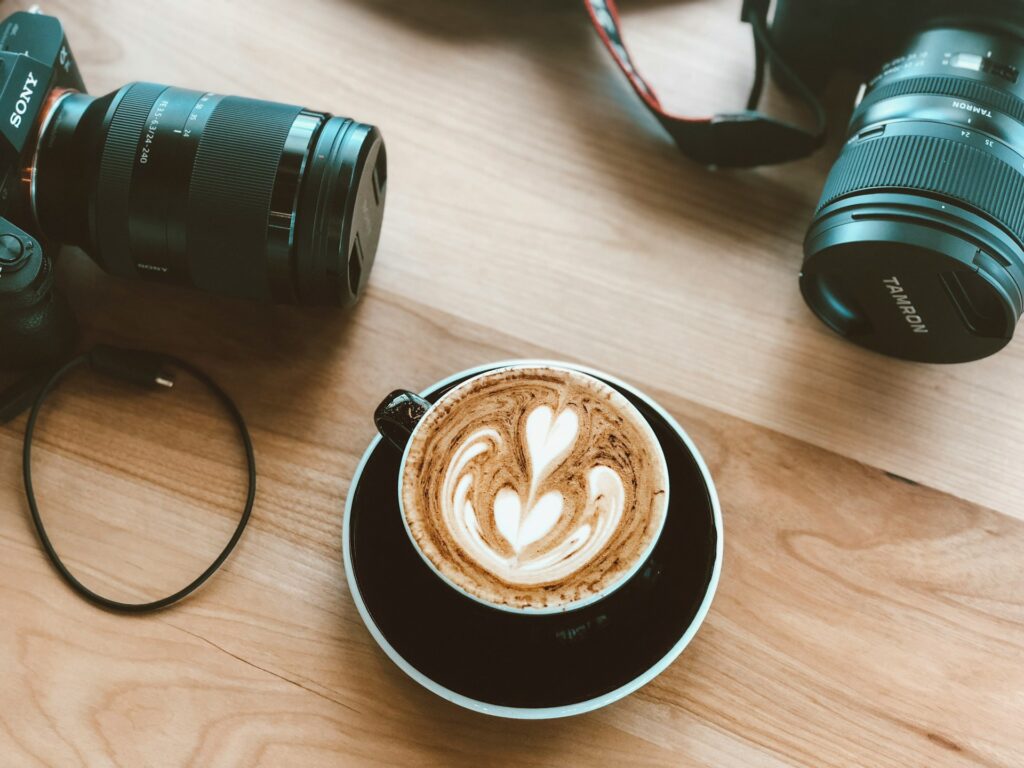
Types of Cameras
As a beginner, you have many options when it comes to choosing a camera:
- Smartphones:

Modern smartphones have powerful cameras that are easy to use and portable. They are perfect for casual photography and quick shots.
- Point-and-Shoot Cameras:
These compact cameras are affordable and simple to use. While they don’t offer as much control as other cameras, they can still produce high-quality images.
- Mirrorless Cameras:
Known for their lightweight design and advanced features, mirrorless cameras offer a balance between portability and professional image quality. They’re ideal for those looking to take their photography to the next level.
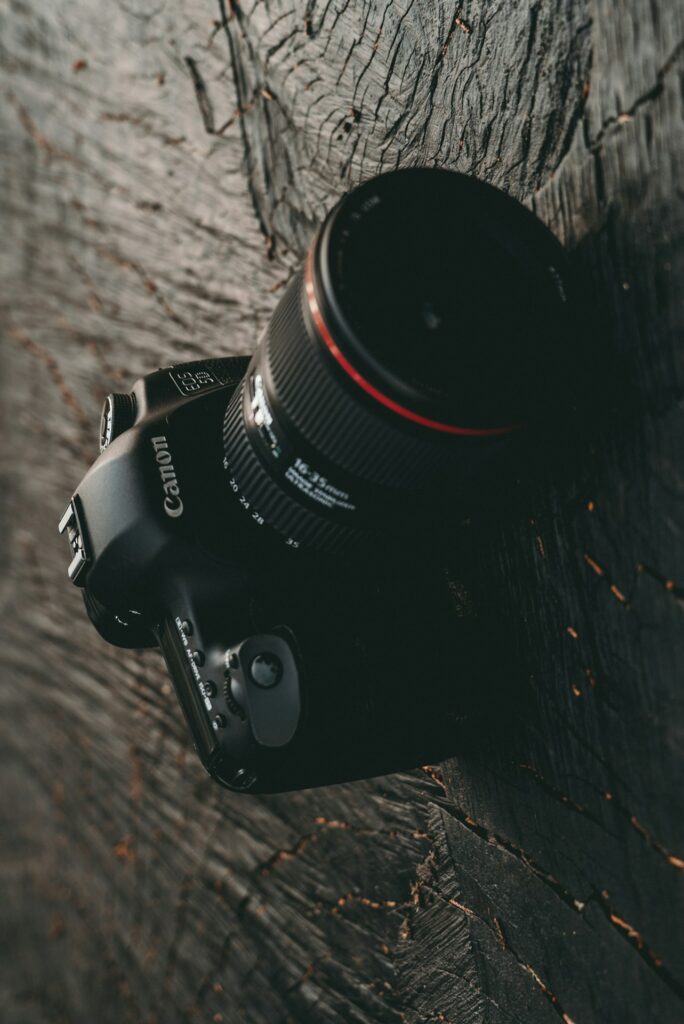
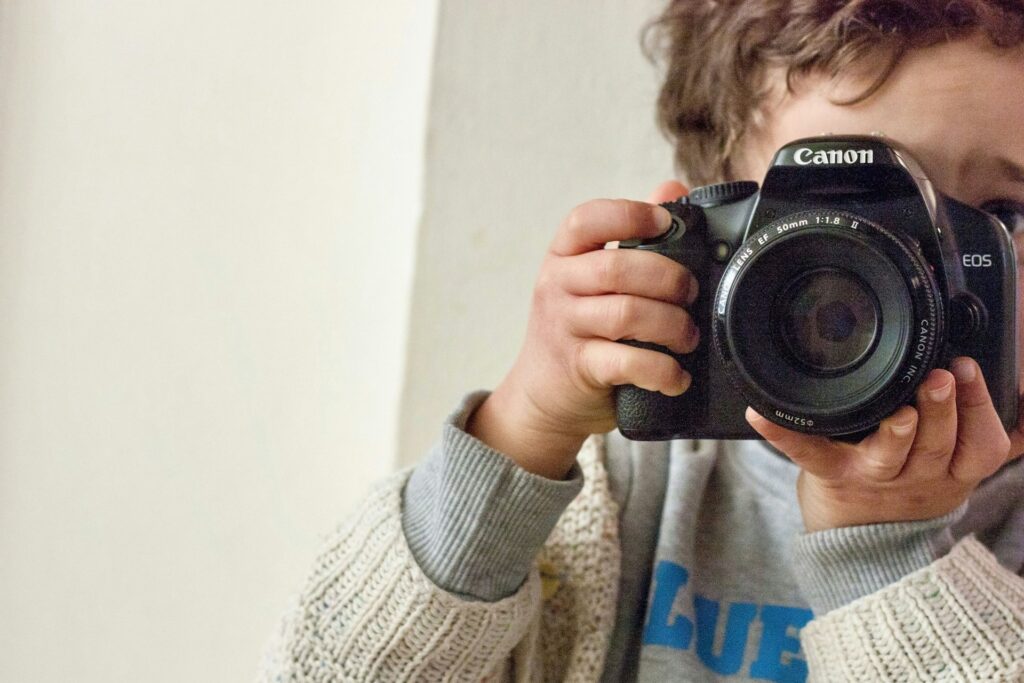
- DSLRs (Digital Single-Lens Reflex):
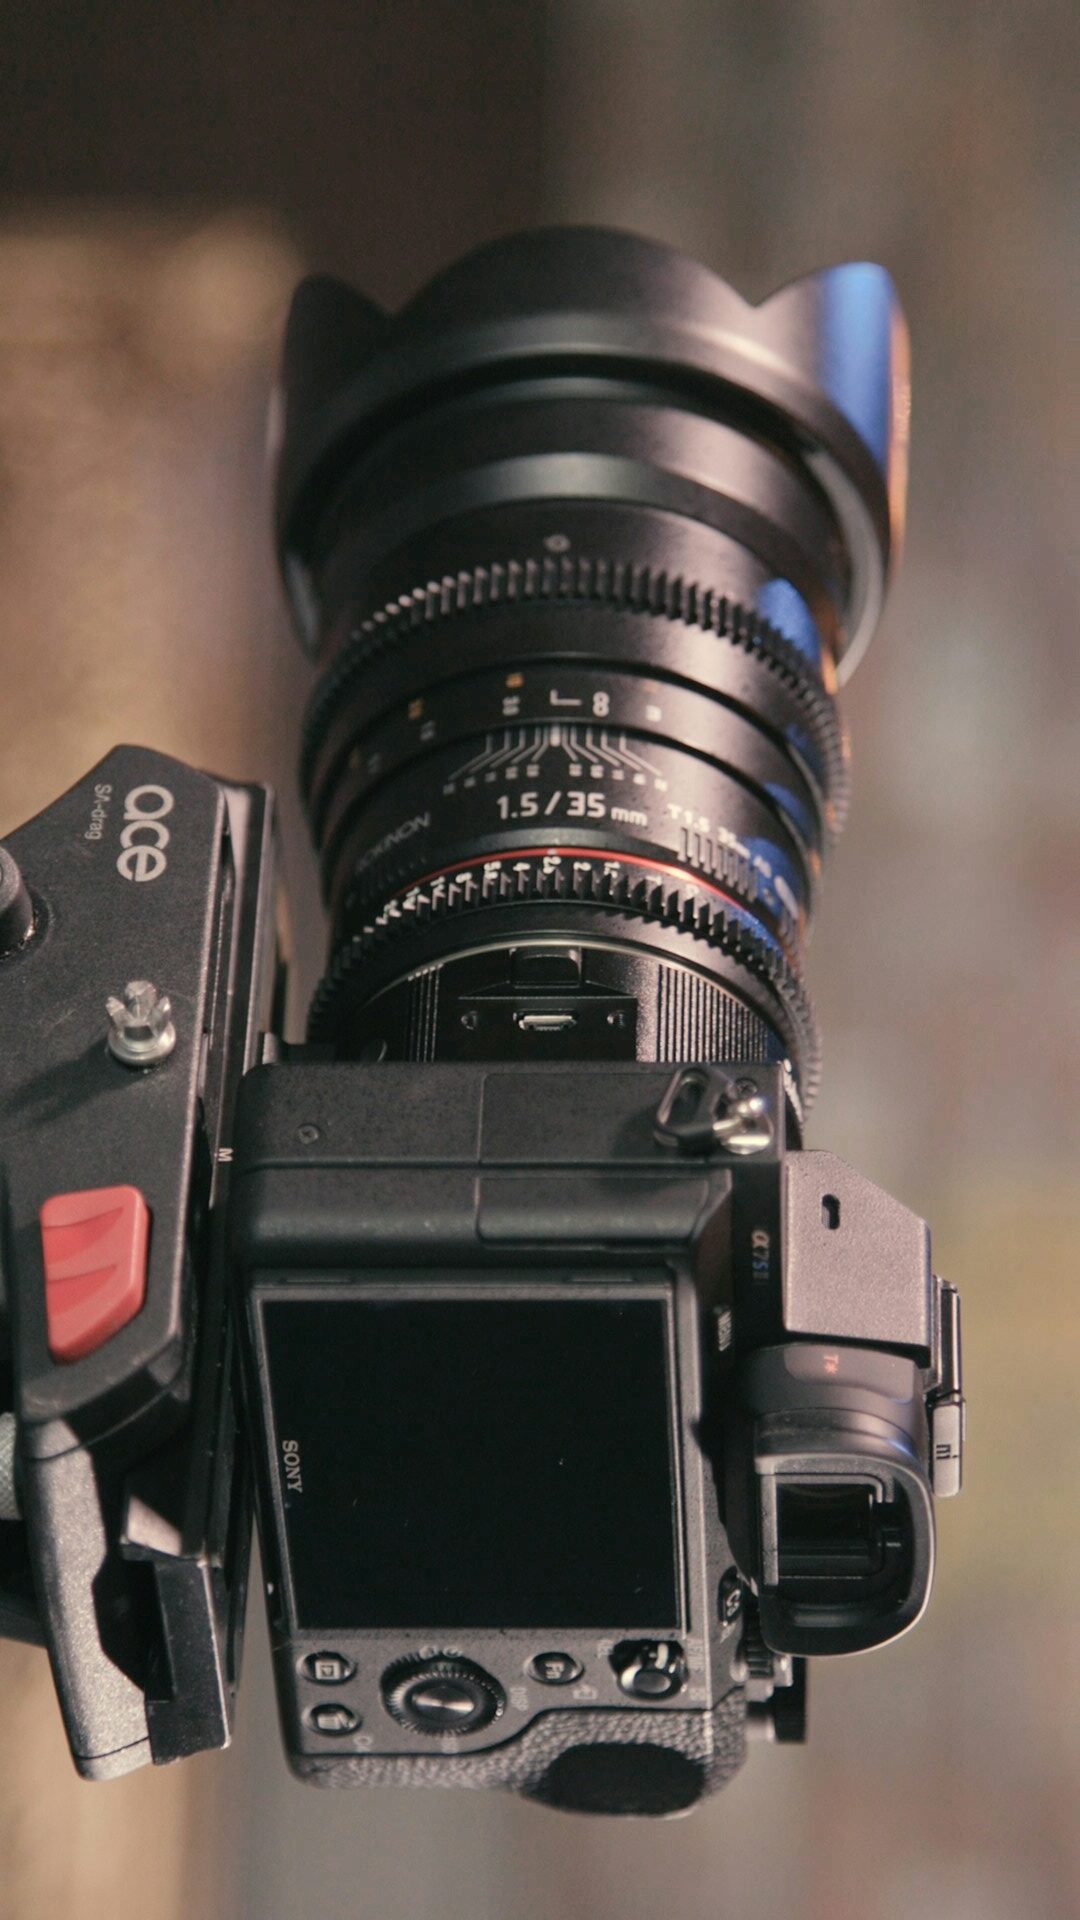
- These are bulkier than mirrorless cameras but offer robust performance, interchangeable lenses, and a vast array of manual controls, making them a popular choice for serious photographers.
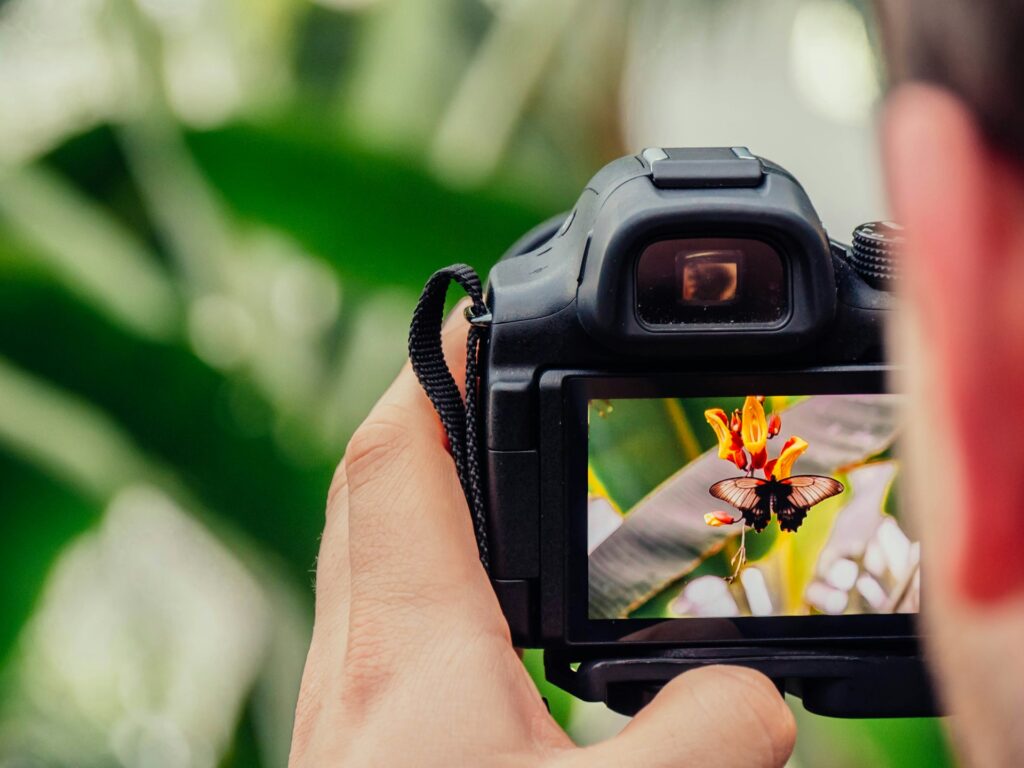
How Cameras Work
The basic function of a camera is to capture light and convert it into an image. Here’s how it works:
- Light Enters the Lens: The lens focuses light onto the camera’s sensor or film.
- Shutter Opens and Closes: When you press the shutter button, the camera opens a small window (shutter) for a brief moment, allowing light to hit the sensor.
- Image is Recorded: The sensor captures the light and converts it into a digital image.
Essential Camera Settings
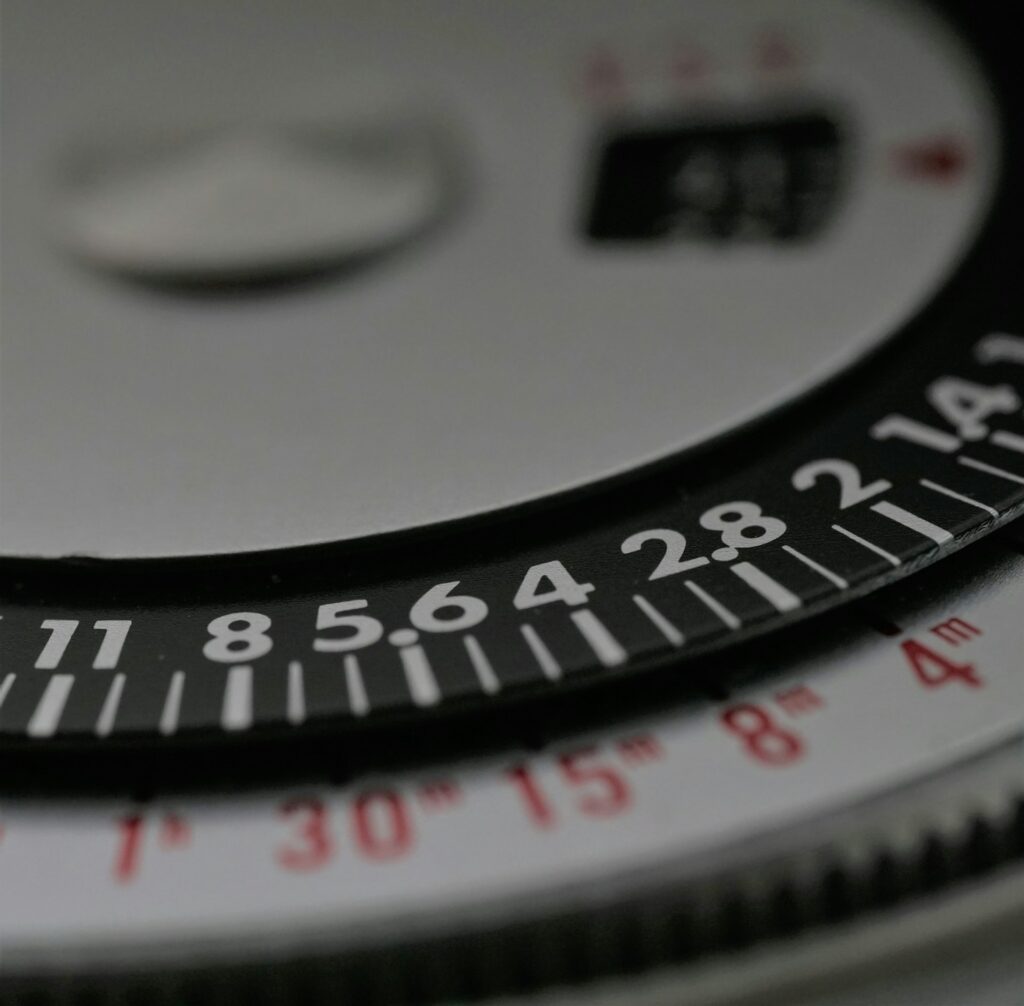
- Aperture: This controls the size of the lens opening, affecting the depth of field (how much of the image is in focus). A smaller aperture (higher f-stop) keeps more of the scene in focus, while a larger aperture (lower f-stop) creates a shallow depth of field, ideal for portraits.
- Shutter Speed: The amount of time the shutter is open. A fast shutter speed freezes action, while a slow shutter speed can create motion blur.
- ISO: This controls the sensor’s sensitivity to light. A lower ISO is ideal for bright environments, while a higher ISO is useful in low-light conditions, although it may introduce noise to the image.
2. Understanding Exposure
Exposure refers to how much light the camera sensor receives. The right exposure is crucial to achieving a well-balanced photo, not too bright (overexposed) or too dark (underexposed).
The Exposure Triangle: Aperture, Shutter Speed, ISO
The exposure triangle consists of three interconnected settings:
- Aperture: Affects the amount of light entering the camera and controls depth of field.
- Shutter Speed: Affects how long the sensor is exposed to light, controlling motion.
- ISO: Affects the camera’s sensitivity to light, useful in low-light situations.
How to Control Exposure
Achieving the correct exposure requires balancing the three elements of the exposure triangle:
- Aperture: A smaller aperture (larger f-stop number) reduces light, while a larger aperture (smaller f-stop number) increases it.
- Shutter Speed: A fast shutter speed reduces light, and a slow one increases it.
- ISO: A lower ISO reduces sensitivity to light, while a higher ISO increases it.
By adjusting these settings in relation to one another, you can achieve the right exposure for your photo.
Exposure Tips for Beginners
- Start with your camera in automatic mode and observe how it adjusts exposure in different lighting conditions.
- Experiment with each setting in manual mode to see how they affect your images.
- Use exposure compensation if your photos are consistently too bright or too dark.
3. Composition and Framing
Composition refers to how elements are arranged in your photo. Well-composed images are more engaging and pleasing to the eye.
The Rule of Thirds
The rule of thirds is a fundamental photography composition guideline. Imagine your photo divided into a 3×3 grid. Position your subject along these lines or at the intersections to create balance and interest.
Leading Lines
Leading lines are lines in your photo that direct the viewer’s eye toward the subject. These lines can be roads, pathways, or natural formations like rivers or tree branches.
Symmetry and Patterns
Symmetry creates a sense of harmony, while patterns add visual interest. Look for these elements in nature, architecture, or everyday objects to create striking images.
Framing Techniques
Use elements in your environment to “frame” your subject, such as doorways, windows, or trees. This technique draws attention to your subject and adds depth to the photo.
4. Lighting in Photography
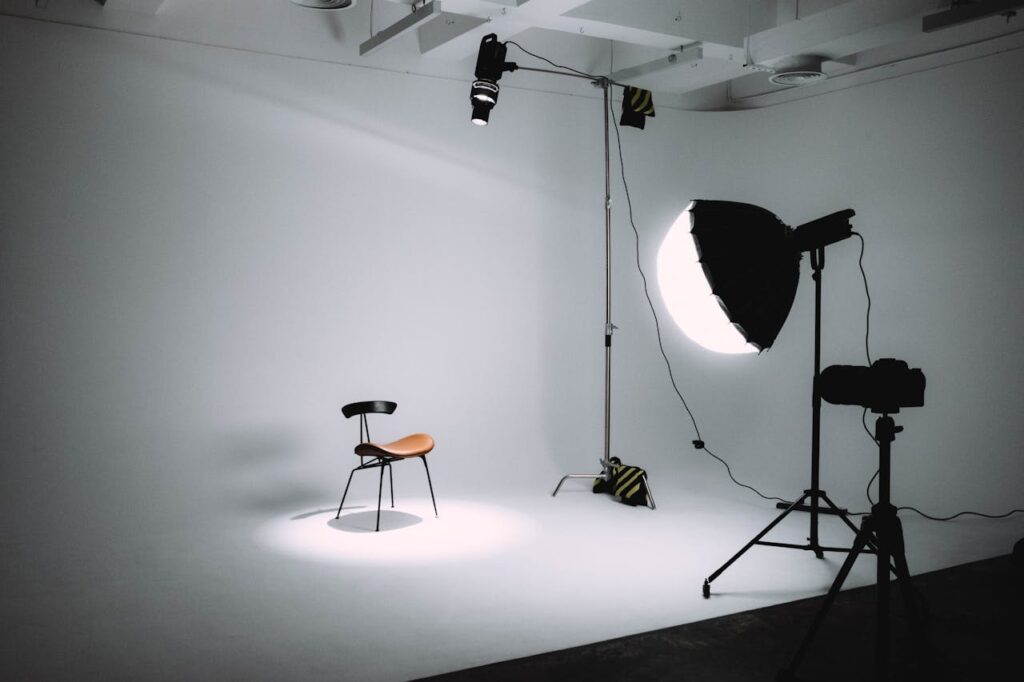
Lighting is one of the most important elements in photography. The way light interacts with your subject can dramatically affect the mood and quality of your images.
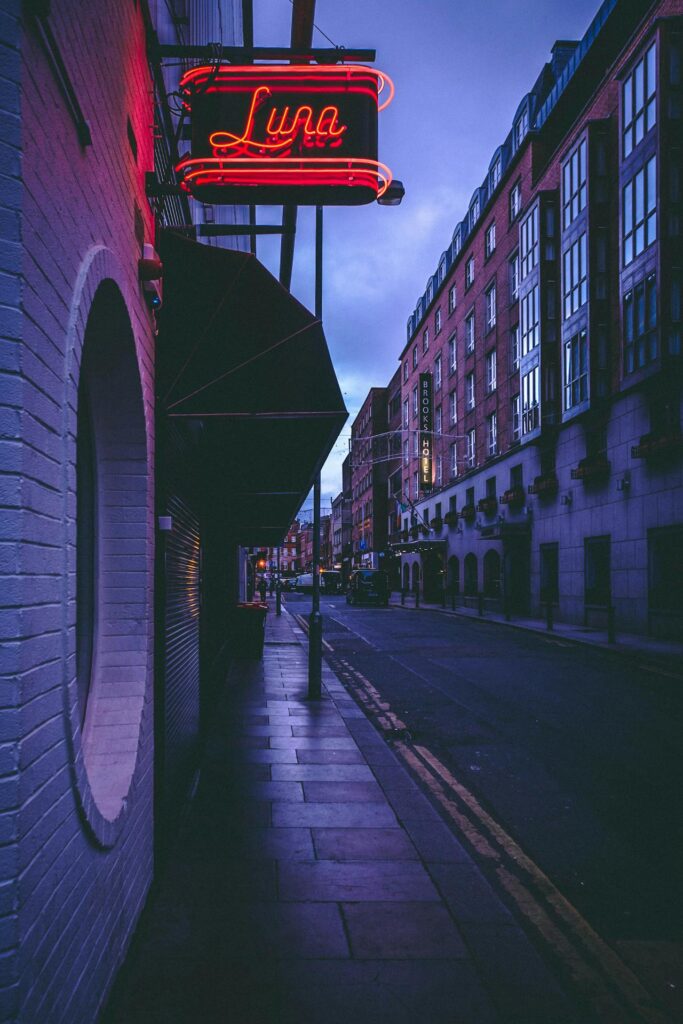
Natural vs. Artificial Light
- Natural Light: The sun is the best natural light source. Depending on the time of day, it can produce soft or harsh shadows, which affects the mood of your photo.
- Artificial Light: Light from lamps, flashes, or studio lights. This is useful when natural light is insufficient or when you want full control over the lighting.
The Golden Hour and Blue Hour
- Golden Hour: This occurs just after sunrise and before sunset, when the sunlight is soft and warm. It’s ideal for outdoor photography as it produces flattering light.
- Blue Hour: This occurs before sunrise and after sunset, when the light is cooler and softer. It’s perfect for creating dramatic and moody landscapes.
Understanding Shadows and Highlights
Shadows add depth and dimension to your images, while highlights bring attention to the brightest parts of your photo. Learning to balance these elements can help create more dynamic and engaging images.
5. Basic Camera Modes and Their Functions
Most cameras have various shooting modes that allow for different levels of control over the camera settings.
- Auto Mode: The camera automatically adjusts all settings. This is ideal for beginners who are just getting started.
- Manual Mode: You have full control over all settings, including aperture, shutter speed, and ISO. This mode offers the most creative freedom but requires more knowledge of how to achieve proper exposure.
- Semi-Automatic Modes: These include aperture priority, shutter priority, and program modes, where you control one or two settings while the camera manages the others.
- Scene Modes: These are pre-programmed settings optimized for specific types of photography, such as landscape, portrait, or sports mode.
When to Use Each Mode
- Auto Mode: Great for quick, spontaneous shots.
- Manual Mode: Best for creative control or challenging lighting conditions.
- Semi-Automatic Modes: Useful when you want control over one aspect, like depth of field or motion blur.
6. Lens Fundamentals

A lens plays a crucial role in photography, and understanding the different types can greatly improve your shots.
Types of Lenses: Prime vs. Zoom
- Prime Lenses: These lenses have a fixed focal length, meaning they don’t zoom. They are often sharper, lighter, and better for low-light situations.
- Zoom Lenses: These lenses offer a range of focal lengths, making them more versatile for different types of photography. However, they tend to be larger and heavier than prime lenses.
Focal Length and Field of View
- Focal Length: Measured in millimeters, this determines how much of the scene is captured. A wide-angle lens (shorter focal length) captures more of the scene, while a telephoto lens (longer focal length) zooms in on distant objects.
- Field of View: The amount of the scene visible through the lens. Wide-angle lenses have a broader field of view, while telephoto lenses have a narrower one.
How to Choose the Right Lens for the Job
Choosing a lens depends on the type of photography you want to do:
- Portrait Photography: Use a prime lens with a focal length between 50mm and 85mm for flattering portraits with a shallow depth of field.
- Landscape Photography: A wide-angle lens (16mm to 35mm) is ideal for capturing expansive scenes.
- Sports or Wildlife Photography: A telephoto zoom lens (100mm to 400mm) is perfect for capturing subjects from a distance.
7. Editing Your Photos

Post-processing is an essential part of photography, allowing you to enhance your images and correct any mistakes.
Introduction to Editing Software
- Lightroom: A popular photo-editing tool for beginners and professionals alike. It allows you to adjust exposure, contrast, color, and more, all within a user-friendly interface.
- Photoshop: More advanced than Lightroom, Photoshop offers powerful editing tools, including layers, masking, and retouching features.
Basic Editing Techniques
- Cropping: Adjust the composition by cropping out unwanted parts of the image.
- Exposure and Contrast Adjustments: Correct any underexposed or overexposed areas.
- Color Correction: Enhance or adjust the colors in your photo for a more vibrant image.
The Importance of Post-Processing
Editing allows you to take your photos to the next level. Even small adjustments in exposure, contrast, and color can make a significant difference in the final image. It’s also a chance to bring your creative vision to life by enhancing mood and style.
8. Photography Genres
As you develop your skills, you may find yourself drawn to a specific type of photography. Here are some popular genres:
Portrait Photography

Portrait photography focuses on capturing the personality and mood of a person or group. It’s all about creating a connection between the subject and the viewer.
Landscape Photography

This genre involves capturing the beauty of the natural world, from sweeping vistas to intimate details of the environment. It’s often done with wide-angle lenses and requires a good understanding of light and composition.
Street Photography
Street photography is about capturing candid moments of everyday life. It often involves working quickly and discreetly in public spaces.
Macro Photography
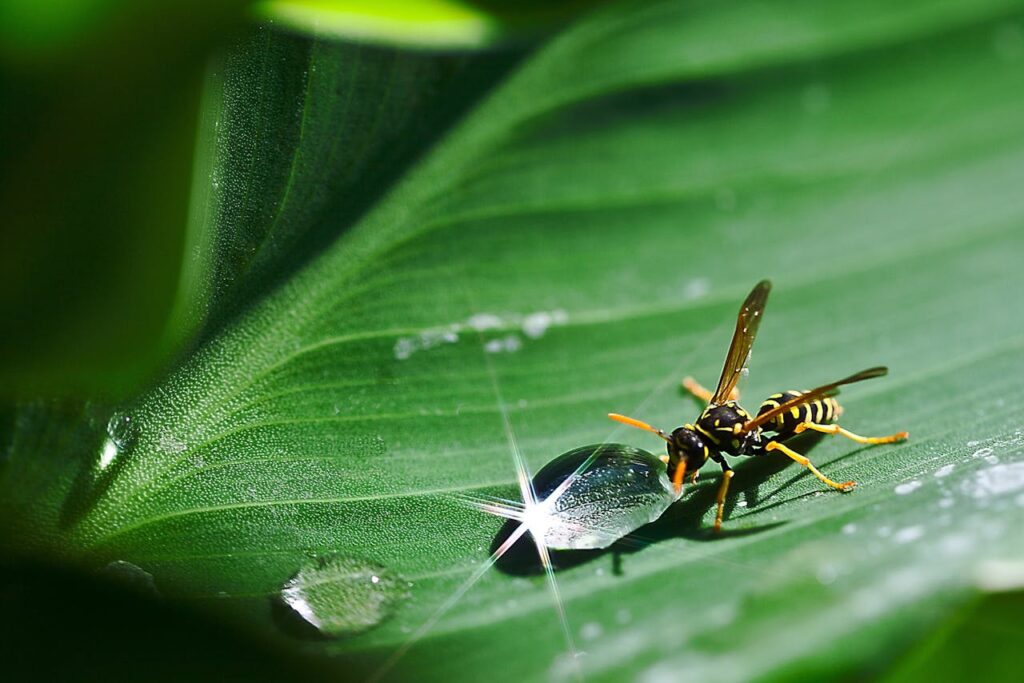
Macro photography focuses on capturing small subjects up close, such as insects, flowers, or tiny objects. It requires specialized lenses and a keen eye for detail.
Which Genre is Right for You?
Choosing a genre depends on your interests. Experiment with different styles to find what excites you the most. Whether it’s the serenity of landscapes, the intensity of street photography, or the personal connection in portraits, there’s a genre for everyone.
9. Building Your Photography Toolkit
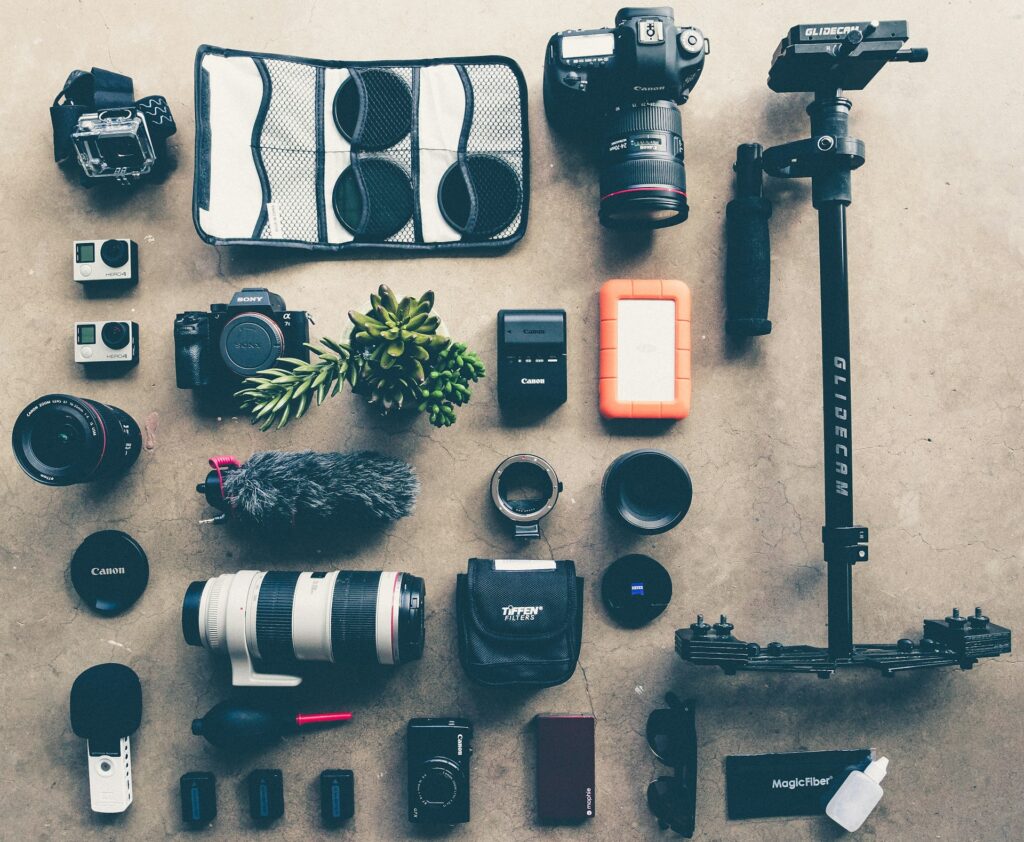
As you grow as a photographer, you’ll need more than just a camera. Here’s a list of essential gear for beginners:
Essential Gear for Beginners
- Tripod: Essential for stable shots, especially in low-light conditions or for long exposures.
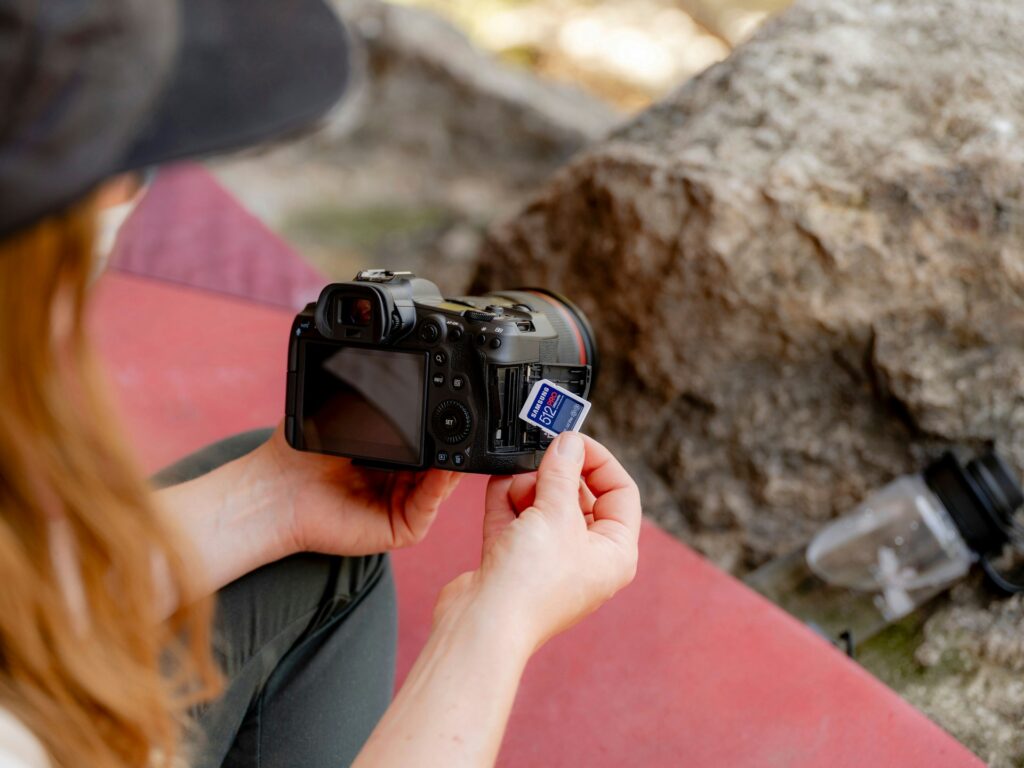
- Memory Cards: Always have extra memory cards on hand, especially if you’re shooting in RAW format.
- Camera Bag: A sturdy, padded bag protects your gear and makes it easier to carry.
- Lens Cleaning Kit: Keep your lenses free from dust and smudges with a microfiber cloth and lens cleaning solution.
Recommended Accessories
- External Flash: Useful for adding light in low-light situations.
- Extra Batteries: You don’t want to run out of power in the middle of a shoot.
- Remote Shutter Release: Great for long exposures and reducing camera shake.
10. Photography Tips for Beginners
Starting out can feel overwhelming, but here are some tips to help you along the way.
Practice, Patience, and Perseverance
Photography is a skill that improves with practice. Be patient with yourself, and don’t be discouraged by mistakes.
Finding Your Style
Over time, you’ll develop a personal style that reflects your unique perspective. Experiment with different genres, techniques, and post-processing styles to find what resonates with you.
Learning from Mistakes
Mistakes are a natural part of the learning process. Review your photos, analyze what went wrong, and use that knowledge to improve.
Conclusion
Photography is a rewarding and accessible hobby that offers endless opportunities for creativity and self-expression. By understanding the basics of how cameras work, mastering exposure, composition, and lighting, and experimenting with different styles and techniques, you can develop your skills and start capturing stunning images. The journey may be long, but with persistence and passion, the possibilities are endless.
Now that you have a solid foundation in photography, it’s time to grab your camera and start shooting!